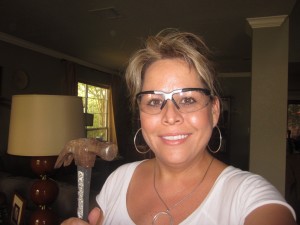
I am so excited about this blog. Well not really excited about the blog as much as I’m excited to have this project behind us. When we moved into our “new to us” home, we gutted a good part of it to make it ours. We still have a ton of projects to tackle, bathrooms are next, but I can now check one of these projects off of our list!
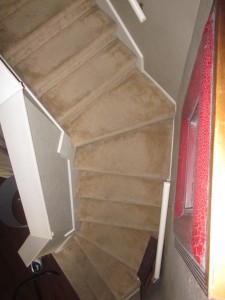
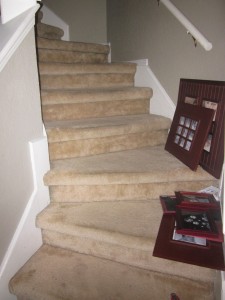
Carpeted stairs are great if you like your carpet. We didn’t. Since our children are still young we have chosen to keep the existing carpet upstairs until they’re a little older but the sight of the dirty stairs and builder-grade carpet were just getting too much for me to bear. I’ve had several quotes to put wood on our stairs and I just couldn’t swallow the price tag that came with it, so we decided to tackle this project ourselves.
Here is the journey of our stair make-over!
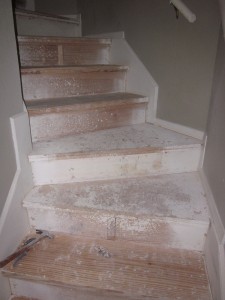
Let’s take a peek and see what’s under that nasty stuff:
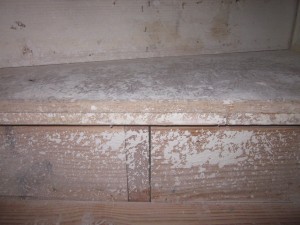
To our delight the stairs were in pretty good shape with the exception of the winding stairs which are constructed of two pieces of particle board/plywood. The other stairs were all nice 2X12s. These winding stairs were definitely an issue since the tops and ends were not smooth. Even with a lot of sanding, you can never get particle board smooth and ready for paint. We needed a wood filler that was easy to spread and covered a lot of area, so we used Durham’s Wood Putty. This is a powder you mix with water and then pour directly onto the wood. You then use a spatula to smooth and level.
After the wood putty is completely dry (recommended 24 hours), you can sand it lightly to help give it a smoother finish.
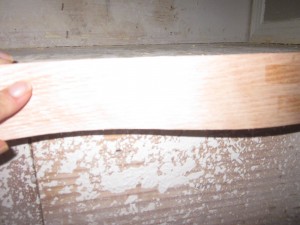
Next, we needed to address the nose of the winding stairs. This was much easier. We used “iron-on” wood veneer for the winding stairs to conceal the particle board.
Next all of the stairs got a good sanding and wipe down.
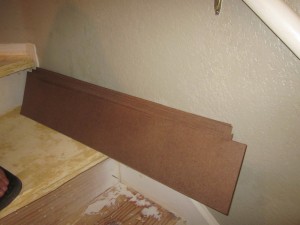
Since the risers had visible staples and holes we chose to cut pressed board and nail to the faces of each riser.
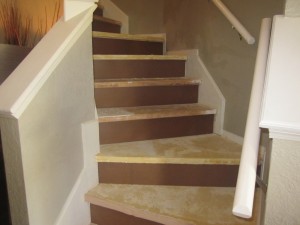
Our last step was installing quarter-round along the risers and treads to hide any gaps that were left. Now we’re ready for primer!!!
o after priming and painting, with an oil-based paint, we were almost there. Almost.
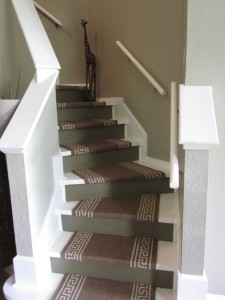
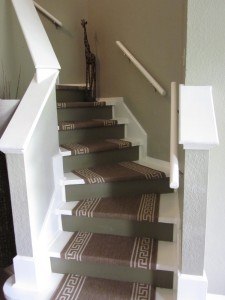
As I mentioned, we have small children and I was really worried about them taking a tumble, down the slippery stairs, so we knew we were going to install stair carpet. I know, I know. You’re thinking, “why did you go to all of that trouble if you were just going to put carpet back on the stairs?” Well there is a method to my madness. If my stairs were straight the rug option would have been so much easier and far more creative, but we had to use stair runner carpet that could be cut for each stair, to accommodate the angles of the winding stairs. This means the carpet had to be thin enough to cut and made so that it wouldn’t ravel. This pretty much leaves you with stair runner carpet, and there aren’t just a ton of options, if you’re trying to do this on the cheap.
But I’m certainly pleased with the outcome. Wait for it…
Wait for it…
So to recap:
Supplies purchased:-2 cans of wood putty $20
-Quarter round $10
-Pressed board $10
-Iron-on veneer $15
-1 can of oil based paint $25
-Sand paper $5
-Carpet runner $75
Total $160
Items/tools we already had:
-Muscle **hee hee
-Crow bar (to remove tack strips)
-Caulk
-Primer
-Circular saw (to cut quarter round)
-Skil saw (to cut pressed board for risers)
-Air compressor/nail gun
-Paint rollers
-Spatula to spread wood filler
-Electric sander (makes the job so much faster)
Done and done.

